Look, pressed powder has always had a spot in your makeup bag. But if you’ve only been using it to set your foundation, you’re not even scratching the surface. This compact little miracle can do way more than just control shine.
Table Of Content
- 10 Genius Ways to Use Your Pressed Powder
- 1. Turn Cream Lipsticks Matte
- 2. Use It for Shine Control and Quick-Fix Touch-Ups
- 3. Create a Smooth, Crease-Free Base for Eyeshadow
- 4. Tone Down Overly Pigmented Blush or Bronzer
- 5. Spot-Conceal Blemishes with Added Coverage
- 6. Bake Key Areas Without Loose Powder Mess
- 7. Lift and Brighten with a Lighter Powder Shade
- 8. Tame Flyaways Without Making Hair Crunchy
- 9. Fix Creased Under-Eyes Without Adding Product
- 10. Mattify Cream Products to Lock Them In Place
- Bonus: Get Natural Full Coverage with a Damp Sponge
- Final Thoughts
- Frequently Asked Questions
- 1. How to apply pressed powder for best results?
- 2. Is pressed powder good for oily skin?
- 3. What’s the difference between pressed powder vs. loose powder?
- 4. Can I use pressed powder as foundation?
- 5. What are some beginner pressed powder tips?
Think pressed powder is just for setting foundation? You’re missing out. Used the right way, these makeup hacks with pressed powder go beyond shine control.
In this blog, I’m walking you through 10 genius pressed powder hacks that most people aren’t even thinking about.
10 Genius Ways to Use Your Pressed Powder
You already know pressed powder sets your foundation and controls shine. That’s Makeup 101.
But what if I told you it can do a whole lot more?
1. Turn Cream Lipsticks Matte
One of the best pressed powder tips is to use it through a tissue for a smooth matte finish. Pressed powder fixes that, without turning your lips into a desert.
Here’s how: Apply your lipstick, place a tissue over your lips, and dab pressed powder through the tissue. The tissue acts like a filter. Just the right amount of powder makes it through to mattify, not dry.
Your lipstick stays put, loses the shine, and feels lighter. This trick works beautifully on bold shades.
2. Use It for Shine Control and Quick-Fix Touch-Ups
Keep a compact in your bag, pressed powder for touch-ups works better than blotting papers
Instead of swiping, press the powder into your skin using a puff or sponge. Focus on areas like the sides of your nose, T‑zone, or chin. If you’d like more expert tips on foundations, check out this detailed breakdown of the best foundations for oily skin to get a fresh complexion.
Go with a translucent version for this. It blots, smooths, and blends without changing your base color.
You may also like: 7 Best Foundations for Pale Skin in Winter
3. Create a Smooth, Crease-Free Base for Eyeshadow
If you’re wondering how to use pressed powder beyond setting, try dusting it on lids before shadow.
Ever apply shadow and it skips, clumps, or looks patchy? It’s usually because your lid is too moist from concealer.
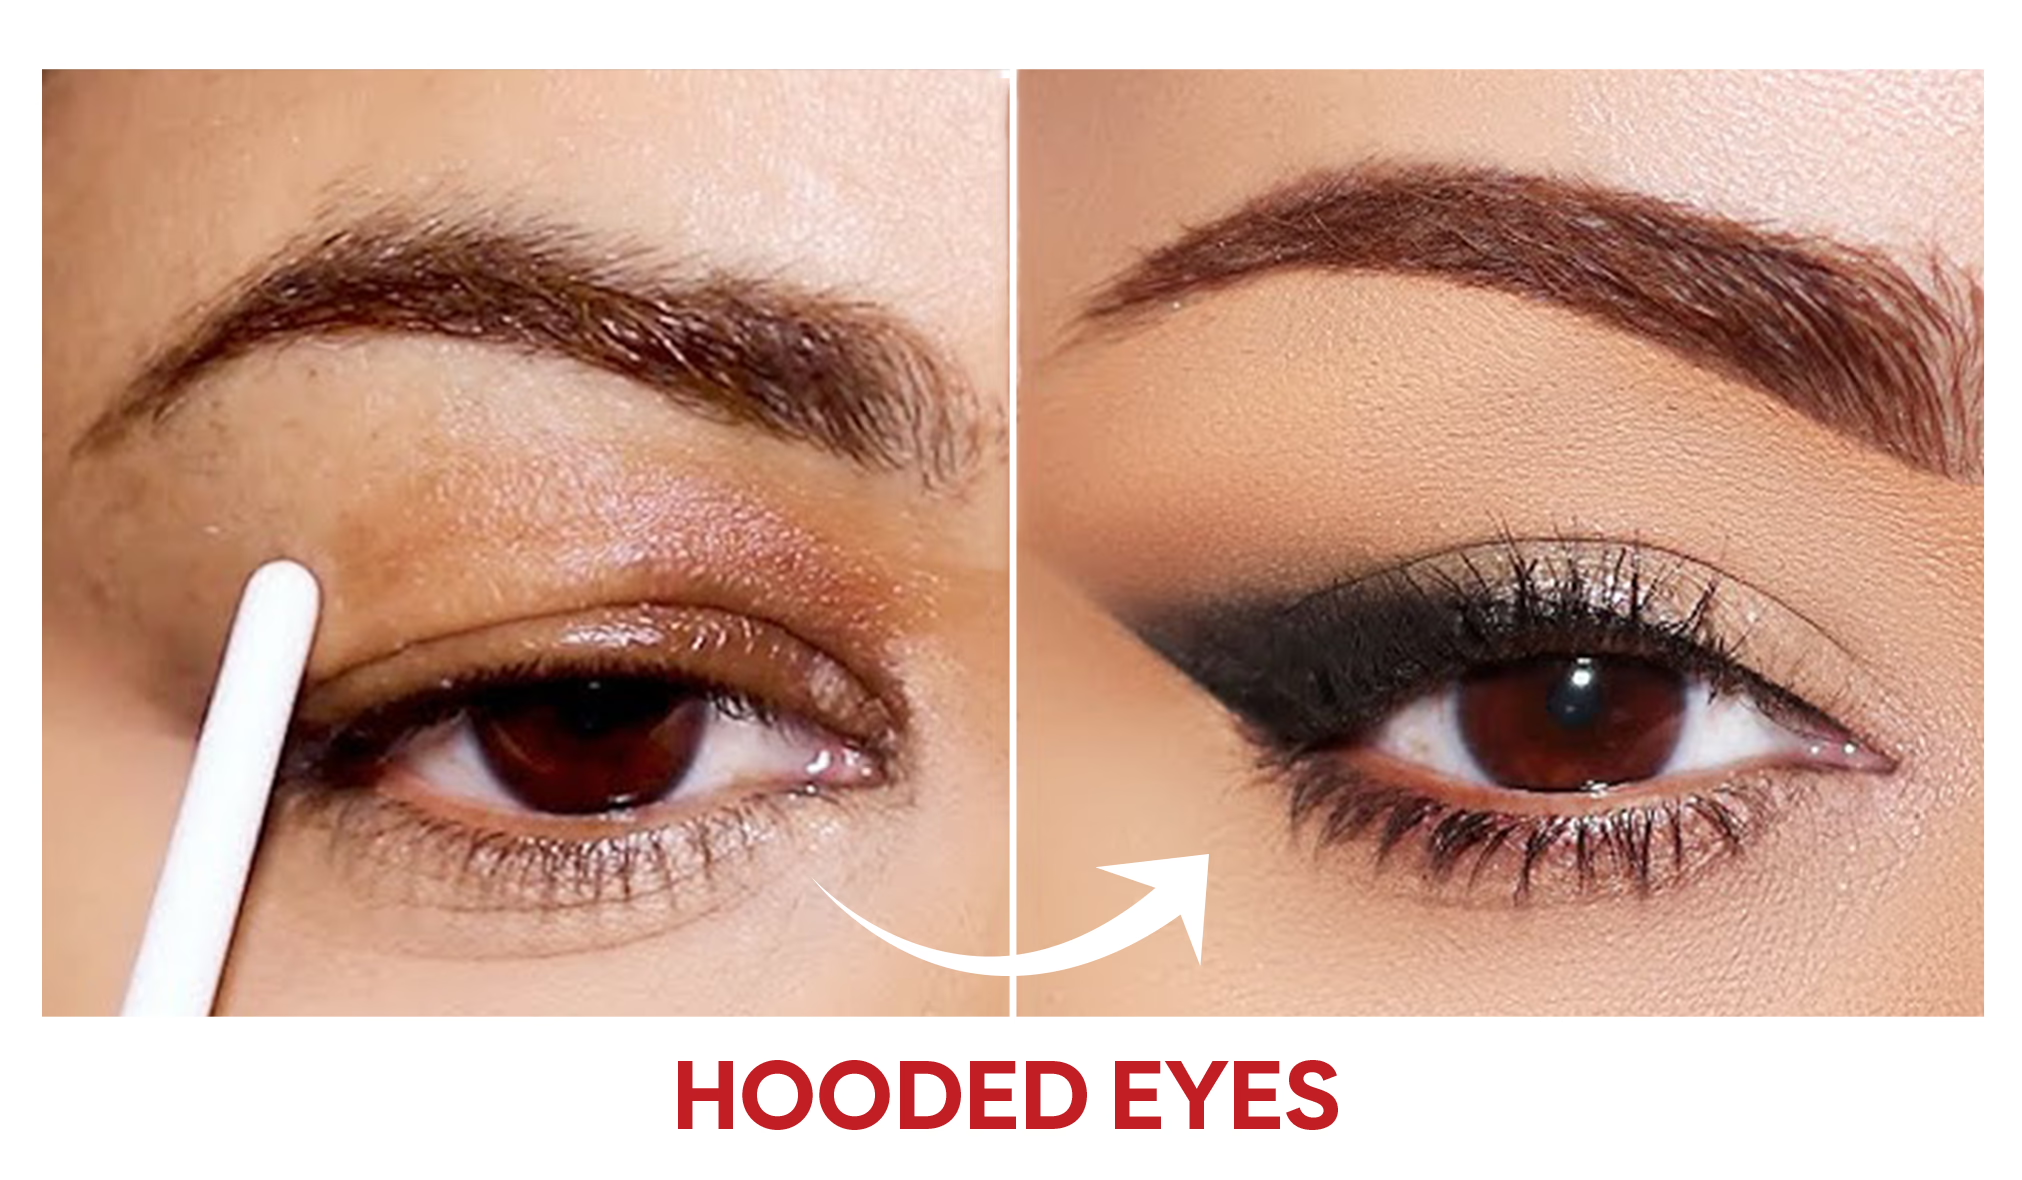
Before shadow, take a fluffy brush and sweep pressed powder across your eyelid. It locks in concealer and provides your eyeshadow with a dry, smooth surface to adhere to.
Similar Read: Step-by-Step Autumn Smoky Eye Look: Your Complete Guide to a Fall-Inspired
4. Tone Down Overly Pigmented Blush or Bronzer
One of the simplest pressed powder tricks is to diffuse harsh blush with a light sweep Sometimes, your brush picks up way more product than you intended. And then it’s already on your face.
Don’t panic. Grab your pressed powder. Either buff it over the area to diffuse harsh edges, or dip your brush in powder before picking up blush or bronzer.
This tones things down and makes color easier to control. Ideal when you’re working with bright shades or heavy hands.
5. Spot-Conceal Blemishes with Added Coverage
Need to cover a breakout but don’t want to layer on cakey foundation? Here’s how to fix cakey makeup with pressed powder:
Apply a tiny bit of concealer on the blemish. Then use a damp sponge, press it into your pressed powder, and lightly tap over the spot.
You get added coverage and locking power at the same time. It hides texture better than liquid peeling ever could, and it won’t budge after a few hours.
6. Bake Key Areas Without Loose Powder Mess
Baking with loose powder is effective but messy. Try this cleaner version.
Use a puff or dense brush and press powder into areas you’d normally bake, under eyes, smile lines, or around the nose. Let it sit for a bit, then lightly sweep it off.
This sets everything in place, prevents creasing, and gives a lifted, smooth effect. No mess. No white flashback.
7. Lift and Brighten with a Lighter Powder Shade
You don’t always need shimmer to bring dimension to your face. Just use a pressed powder that’s a shade lighter than your skin. This pressed powder foundation hack subtly sculpts without heavy contouring.
Apply it under your eyes, down the center of your nose, between your brows, and on the chin. Basically, hit the high points.
It subtly lifts and brightens. It is perfect for when you want structure without full contouring.
8. Tame Flyaways Without Making Hair Crunchy
This sounds weird, but it works. Pressed powder can calm baby hairs and flyaways.
Rub a little between your fingers and tap it onto the problem areas, especially near the part or hairline. It’s great for sleek buns or ponytails when you want everything smooth and clean.
9. Fix Creased Under-Eyes Without Adding Product
One of the easiest beginner pressed powder tips is to set the under-eyes without layering more concealer.
Instead, grab a small, fluffy brush, dip it lightly into pressed powder, and gently press it into the creased area.
This smooths things out and resets your makeup without layering on more concealer. It’s like a mini eraser for your under-eyes.
10. Mattify Cream Products to Lock Them In Place
Cream blushes and highlighters look gorgeous, until they start moving around.
After applying your cream products, take a bit of translucent pressed powder and lightly pat it on top. Don’t swipe. Just a soft press with your fingers or sponge.
It keeps the cream locked in, tones down excess shine, and prevents sliding throughout the day.
Bonus: Get Natural Full Coverage with a Damp Sponge
This move fits perfectly into an everyday pressed powder routine for natural coverage.
If you need more coverage but don’t want to deal with heavy liquids, dampen a beauty sponge and press it into your pressed powder. Then bounce it onto your skin.
It builds up fast, smooths out discoloration, and looks surprisingly natural. Especially good for oily skin or hot days when liquid foundation feels like too much.
Final Thoughts
You don’t need ten new products. You just need to get clever with the one you already own. These are makeup artist pressed powder hacks anyone can do at home. Try a few of these. See what sticks. Chances are, once you start using these pressed powder hacks, you’ll wonder how you ever did your makeup without it.
Frequently Asked Questions
1. How to apply pressed powder for best results?
Use a fluffy brush for a light dusting or a puff for more coverage. The key is to press, not swipe, so the powder blends smoothly without caking.
2. Is pressed powder good for oily skin?
Yes, pressed powder for oily skin hacks include pressing it into your T-zone midday. It absorbs shine, blurs pores, and prevents foundation from breaking down.
3. What’s the difference between pressed powder vs. loose powder?
Pressed powder is travel-friendly and less messy, perfect for touch-ups. Loose powder, however, works best for baking or all-over setting at home.
4. Can I use pressed powder as foundation?
Absolutely. One pressed powder foundation hack is to apply it with a damp sponge for natural, buildable coverage that replaces liquid foundation.
5. What are some beginner pressed powder tips?
Start with a translucent version, focus on your oily zones, and avoid overloading. Beginners should press powder into skin instead of swiping to keep things natural.


